
Listo separates people (users with logins and roles) from teams (the crews that get assigned jobs and routes). Set up both and scheduling becomes automatic.
Invite users and assign roles
- 1Go to Settings → User Management (owners can edit; admins have read-only access to Settings).
- 2Enter the person's email, choose a role, and send the invite.
- 3Your teammate opens the invite link, sees "You're Invited!" with their email and role pre-filled, enters their name, phone, and a password, and clicks Create Account.
- 4They log in with the invited email — you'll see them appear under User Management, where you can edit their role or team anytime.
What each role can do
- OWNER — full access, including Settings, billing, and reports.
- ADMIN — everything day-to-day plus Clients, Teams, and Reports; can view Settings but not change them.
- DISPATCHER — Dashboard, Quotes, Jobs, Invoices, Route, and notifications; focused on daily operations.
- FIELD — mobile-only. Field workers are automatically routed to the mobile app to see their daily jobs.
- ACCOUNTING — for bookkeeping staff who handle invoices and payments.
Create your teams
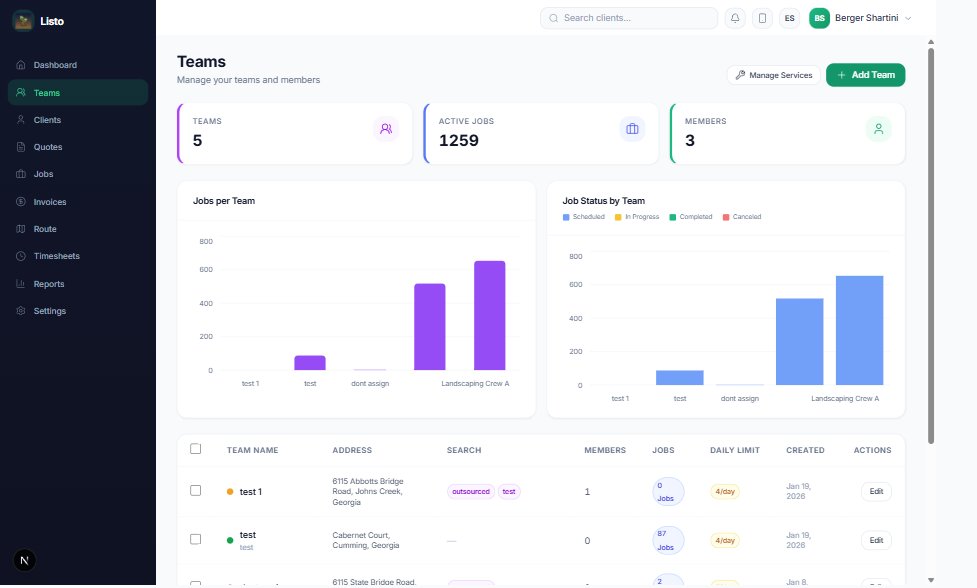
- 1Go to Teams and click Create Team.
- 2Give the team a Name, an optional Description, and a unique Team color (used across the calendar and maps).
- 3Set Maximum jobs per day so auto-assignment never overloads a crew.
- 4Enter the team's Start location — routes are optimized from this address each day.
- 5Check off the Services this team performs, and add its Members.
Tip: Auto-assignment matches jobs to teams using the services they offer, their capacity, and their location — so the more accurately you fill in a team's services and start location, the smarter your schedule gets.